
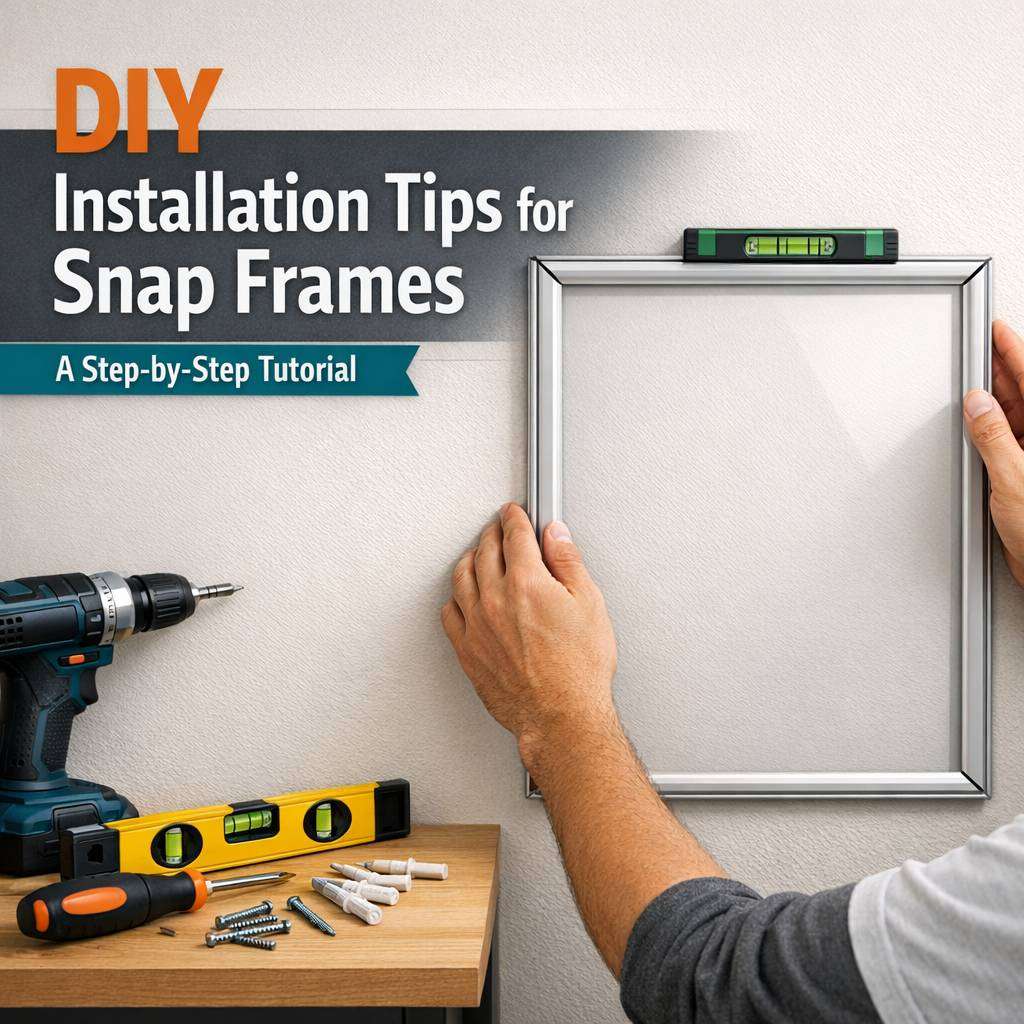
Snap frames offer a sleek, professional way to display posters, photographs, and notices without the need for glass or framing expertise. In this guide, I’ll share practical, expert advice to help you install snap frames with confidence. From choosing the right mounting method to securing the frame in place, these tips will help you achieve a clean, secure display that lasts.
As an educator and a seasoned installer, I’ve worked with a range of settings—from classrooms to shop windows. The following steps are tailored to common snap frame sizes and wall materials, with emphasis on accuracy and safety. By the end, you’ll understand the essentials of measurement, alignment, and practical fixes that keep your content looking pristine.
Choosing the right snap frame for your space
Before you start drilling or hammering, select a snap frame that suits your environment. Consider:
- Size and aspect ratio: Standard poster sizes (A3, A4, 24×36 inches) are widely available. Ensure the frame opening accommodates your image with a minimal border.
- Material and finish: Aluminium snap frames are lightweight and durable, while plastic options are more affordable. If your display is outdoors or in a high-moisture area, look for weatherproof or enclosed variants.
- Mounting type: Snap frames can be wall-mounted using screws, wall adhesive, or picture hooks. For heavy frames, wall anchors provide extra security.
- Depth and lip design: A deep snap frame accommodates thicker boards or laminated sheets; a thin lip keeps a low-profile appearance.
Tools and materials you’ll need
Gather these essentials to avoid mid-installation delays:
- Snap frame(s) in the desired size
- Level and spirit level
- Tape measure or laser measure
- Pencil for marking
- Drill with appropriate bits for wall type
- Screwdriver or power driver
- Wall anchors and screws suitable for plaster, brick, or timber
- Masking tape or painter’s tape
- Optional: stud finder, stud-safe mounting hardware
- Optional: foam spacers for a snug fit behind the image
Preparing your image and frame
- Trim to size: If your poster isn’t exactly the frame size, trim carefully to maintain symmetry. Leave a small border around the artwork to avoid edge damage.
- Mounting inserts: Some snap frames include a backing board. Check that the board sits flat and doesn’t bow when inserted.
- Protective sleeve: If you’re concerned about wear, place the print in a clear, acid-free sleeve before inserting into the frame.
- Test fit: Before mounting, gently place the substrate inside the frame to ensure it fits cleanly and evenly.
FAQ: Snap Frames
What are snap frames?
Snap frames are lightweight display frames with a flexible edge that can be opened by snapping the sides inward to release a front cover, allowing you to easily swap in posters, photos, or artwork without tools.
How do snap frames work?
Most snap frames have a sturdy backing board, a front acrylic or glass panel, and a snap-on beaded edge. You gently press the frame sides inward along the corners to release the retainer snaps, insert your artwork, and press back to secure.
What sizes do snap frames come in?
Snap frames are available in a range of sizes, including common poster dimensions (5×7, 8×10, 11×14, 16×20, 18×24, 24×36, etc.). They also come in custom sizes for tailored displays.
What materials are snap frames made from?
They are typically made from lightweight materials such as plastic (often aluminum-look finishes) or metal. The front panel is usually clear acrylic or glass, with a rigid backing board inside.
Are snap frames wall-mountable?
Yes. Most snap frames include pre-drilled holes or mounting hardware for wall installation. They can be hung vertically or horizontally depending on the design.
Can snap frames be used outdoors?
Some snap frames are rated for outdoor use with weatherproof seals and UV-resistant fronts. If you plan to display outdoors, look for frames specifically labeled for outdoor use and check IP ratings and UV protection.
How do I replace the artwork in a snap frame?
- Remove or snap open the frame edges to release the front panel.
- Take out the backing board and replace the displayed artwork.
- Reinsert the backing, align the artwork, and snap the edges back into place.
Do snap frames offer a glare-free option?
Many snap frames use anti-glare or matte-finish acrylic front panels. If glare is a concern, look for frames with an anti-glare option or use diffuse lighting.
What is the difference between snap frames and traditional frames?
snaps frames are designed for quick, tool-free image changes with a simple snap mechanism, whereas traditional frames may require removing corners with tabs, snapping in a back panel, or using multiple components.
How do I clean snap frames?
Wipe the front panel with a soft, lint-free cloth. For stubborn smudges, use a mild soapy solution and dry promptly. Avoid abrasive cleaners that could scratch the surface.
Can snap frames display both landscape and portrait photos?
Yes. Many snap frames are designed to accommodate both orientations, but 확인 orientation markings or adjustable stands can help ensure correct display.
Are there environmentally friendly snap frames?
Some brands offer frames made from recycled or recyclable materials and use UV-protective fronts to reduce fading of displayed images. Check product specifications for eco-friendly claims.
Where can I buy snap frames?
Available at home decor stores, office supply shops, framing retailers, and online marketplaces. Compare sizes, materials, and outdoor ratings to choose the best option for your needs.
What should I consider when choosing a snap frame?
- Size to fit your artwork
- Indoor vs outdoor use
- Frame material and finish
- Front panel type (glass vs acrylic; anti-glare)
- Mounting options and orientation
- UV protection and fade resistance
Do snap frames come with hardware?
Most include hardware for wall mounting, and some offer stands or easels for tabletop display. Check product details to confirm included accessories.
Marking the wall for accurate alignment
- Measure twice, drill once: Determine the desired height and horizontal alignment. A common guideline is to position the centre of the frame at eye level, around 145–150 cm from the floor.
- Use a baseline: Mark two horizontal lines with a level to guide where the frame’s top edge should sit.
- Mark mounting points: Typical snap frames use two or more mounting points. Mark the screw positions through the frame’s wall brackets or through directly onto the wall if you’re mounting a single frame.
- Temporarily hold with painter’s tape: Place the frame against the wall, use a pencil to mark the corners, then remove the frame to verify the marks align. This helps avoid multiple drills.
Drilling and fastening for different wall types
- Drywall or plaster:
- Use wall anchors appropriate for the frame weight. Plastic expansion anchors are standard for lighter frames; toggle bolts are better for heavier frames.
- Drill pilot holes at the marked positions, insert anchors, then screw in screws leaving a small gap to nest the snap frame’s mounting brackets.
- Brick or masonry:
- Use a masonry drill bit to create pilot holes. Insert wall plugs designed for masonry and drive screws securely.
- Consider using a hammer drill for clean, efficient holes. Ensure you do not overtighten, which could crack the wall plug.
- Timber:
- For timber walls, you may be able to use self-tapping screws directly. Use a countersink to keep screw heads flush with the mounting surface.
- Use wall anchors appropriate for the frame weight. Plastic expansion anchors are standard for lighter frames; toggle bolts are better for heavier frames.
- Drill pilot holes at the marked positions, insert anchors, then screw in screws leaving a small gap to nest the snap frame’s mounting brackets.
- Use a masonry drill bit to create pilot holes. Insert wall plugs designed for masonry and drive screws securely.
- Consider using a hammer drill for clean, efficient holes. Ensure you do not overtighten, which could crack the wall plug.
- For timber walls, you may be able to use self-tapping screws directly. Use a countersink to keep screw heads flush with the mounting surface.
Mounting the snap frame
- Level the frame: Place the frame against the wall and verify levelness using the spirit level. Minor adjustments are easier before fully tightening screws.
- Attach the frame: Align the frame’s mounting brackets with the pre-drilled holes. Start with one corner to ensure even alignment, then secure the remaining screws.
- Check clearance: Ensure there’s a consistent gap around the frame so the snap mechanism functions freely.
- Insert the print: Open the snap frame’s edge or cover, insert your print or poster, resecure the edge to trap the image inside, and confirm the surface sits flush.
Snap frames are essential for showcasing artwork, photos, and certificates with a clean, professional look. They offer quick, tool-free display changes and sturdy protection. For convenient options, visit snap frames and explore a range of sizes.
Finishing touches and maintenance tips
- Edge cleaning: Use a soft cloth to wipe away dust from the frame and the wall around the installation.
- Protection strategies: If the frame is in a high-traffic area, consider laminated prints or UV-protective coatings to reduce fading.
- Replacing content: Snap frame interiors are designed for easy content changes. When swapping prints, clean the interior edges to avoid dirt gathering in the corners.
- Safety considerations: If you’re installing high up or in public spaces, consider securing the frame with additional vandal-resistant fittings or brackets.
Troubleshooting common issues
- Frame sits crooked: Double-check the level lines and re-seat the mounting screws. Uneven walls may require shims or longer anchors.
- Gaps around the frame: Ensure the frame is pressed evenly into the mounting hardware; if needed, adjust with washers or spacers.
- Difficulty snapping the frame closed: Confirm the printed image edges are straight and not curling; reinsert if necessary.
Pro tips for a professional look
- Use the same alignment baseline across multiple frames for a cohesive display.
- Label each frame’s position in the margin of the frame backing to simplify future updates.
- Consider anti-glare glass or acrylic if your display is in a sunlit area to reduce reflections.
Snap frames are an elegant and practical solution for dynamic displays. With careful preparation, precise measuring, and the right hardware, your installation will be both secure and visually appealing. By following these step-by-step tips, you’ll master the art of mounting snap frames and enjoy a consistently polished presentation.